The number one reason that nails end up lifting is because o inadequate preparation of the natural nail before doing the sculpting. To prepare a nail correctly you must know that the composition of the nail plate includes a high percentage of water and natural fat that interfere with adhesion.
- It starts with the mechanical phase, that is, the phase we work on manually.
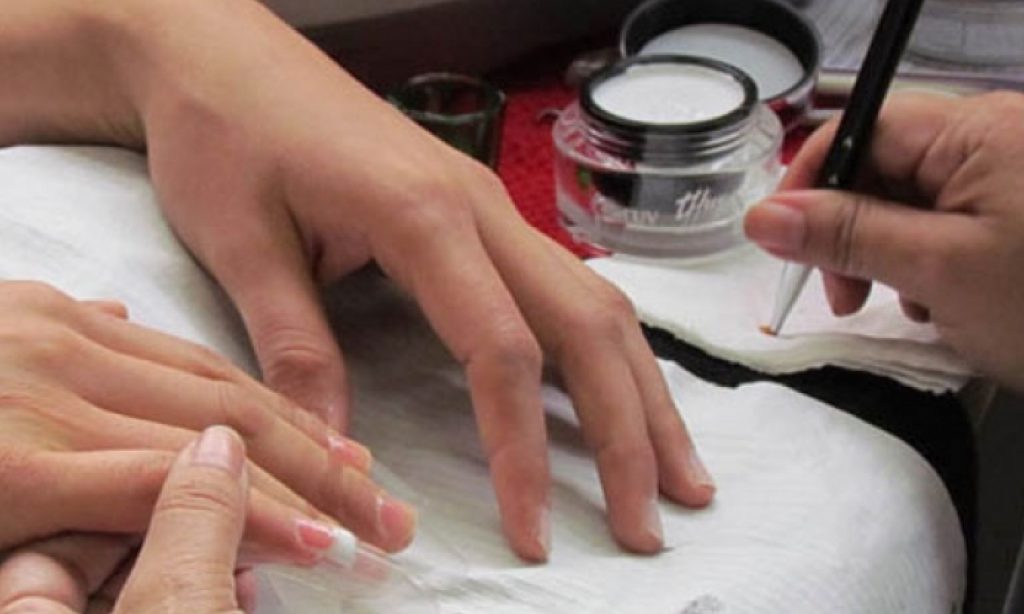
It disinfects and removes traces of dirt with a non-acetone nail polish remover, cleaning the surface of each of your nails, to remove any contaminating agents. - Gently pushes back the cuticle, which is attached to the nail surface without applying products containing grease or oil.
This layer should be removed very carefully, with a metal pusher. Many experts agree that many hours of valuable time are lost in making repairs because the cuticle has been improperly removed. This happens because any remaining skin that is left on the nail gets trapped between the natural nail and the product, preventing its removal and therefore favoring the nail to become detached. This step is the most important to avoid product lifting. - Then polish the surface of the natural nail.
Do not use a coarse grain larger than 180. Strong abrasives usually scratch the surface of the nail, weakening the natural nail and the formation of the sculpture.
Pay special attention to the sides and the cuticle area when you are preparing the nail and don’t be afraid to push the skin back.
This area is the great forgotten area and where the nail usually starts to rise. Some technicians use a cuticle drill or cone drill on their lathes to easily clean the cuticle area, removing dead tissue from the nail plate and slightly scraping the surface (to open the pore so that the product will then have better adhesion). After filing, remove all dust and debris with a disinfected or special brush to clean out any remaining particles. Do not use your fingers. - Next we will go to the chemical phase, in this we apply laboratory product (chemical products), first we will eliminate the excess of water with a layer of artificial nail preparer, this dehydrates the nail.
- Then the chemical degreasing, we can apply bonder or primer, my advice is that if you find yourself with a greasy nail apply primer because it contains acid and will help us to adhere better to this type of nail. You can already start sculpting, this preparation will be done in both techniques, gel and acrylic.
To highlight:
The product does not stick to the skin, so an overflow in the cuticle or lateral area will produce the lifting of the nail. Leave a thin margin of a few millimeters around the cuticle and sides. Leaving this space between the cuticle and the free edge you will have enough room to work between both and file the lining completely, until it is fine and aligned in the area where it meets the natural nail.
My last recommendation:
Prepare one coat and apply the product. Then do the same work on the other. This is important because sometimes the client, with the prepared hand, tends to touch their face, scratch their head or talk on the mobile phone, throwing away all your preparation work.