

Blog
Step by Step: Whitening Treatment

The Whitening hand treatment attenuates the tone of skin blemishes, leaving it homogeneous and uniform. In this step-by-step we show you how to apply it to obtain the best results.
Step by Step: Whitening
- Use the Cleansing and Moisturizing Lotion to prepare the skin before treatment. Dilute one godet in a bowl of water.
- Perform a nail, cuticle and skin analysis to identify the client’s needs.
- File the nails with the Blue File 120/240.
- Remove excess cuticle with the Metal Pusher.
- Exfoliate the area with a massage to remove excess impurities from the epidermis, facilitating the absorption of the following product.
- Apply the Whitening Emulsion with a massage: rubbing on each of the spots to be lightened. Take each of the fingers with the index finger and thumb and make circular frictions in an upward direction.
- Make circular frictions with the fingers in the palmar area of the hand and forearm, dorsal area of the hand and arms.
- Perform a Palmodigital Kneading for 30 seconds.
- Make passes with knuckles all over the palm and fingers for 30 seconds.
- Friction with both hands for 30 seconds.
- Finish the massage with some sedative steps.
- Once the massage is finished, proceed to apply the second formulation: Whitening Mask with a spatula and cover with Osmotic Film.
- Leave on for 10 to 15 minutes.
- Gently remove the film and mask residue.
Finally, you can proceed with traditional or permanent enameling.
Related Posts

NEW BEAUTY SYSTEM!
Thuya presents a new beauty system for your hands and feet. With our new Beauty System you will choose what your skin needs most and pa...
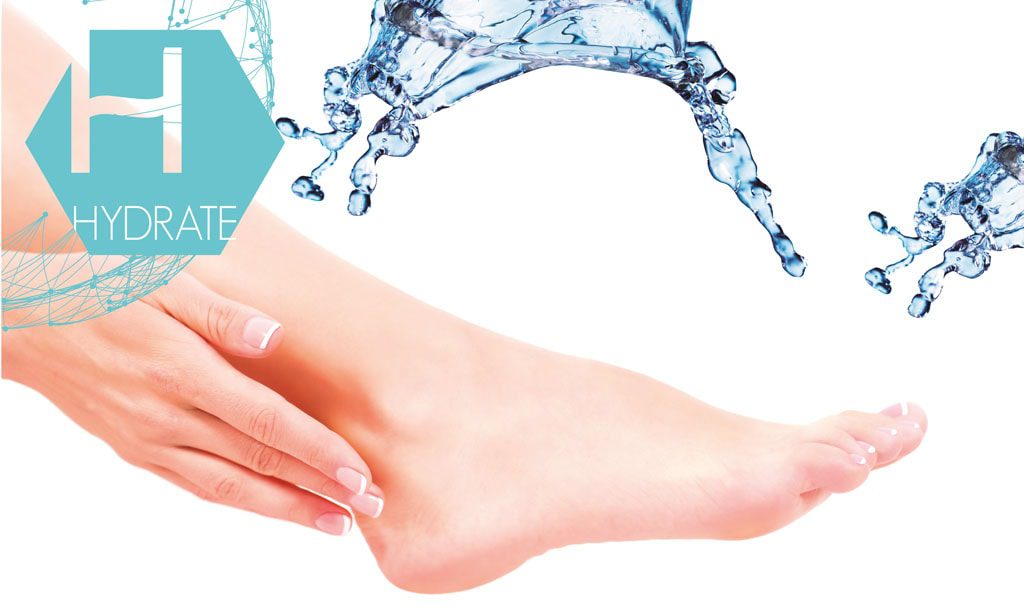
Step by Step: Hydrate Treatment
Hydrate Treatment
Hydrate hand and Hydrate foot care restructures the skin with deep hydration. It is designed to provide intensive car...
Step by Step: Regenerating Treatment
Regenerating Treatment for Hands and Feet
The Regenerating treatment is an intensive nourishing treatment. It works by activating and s...